So your Accountant told you to reconcile your accounts in QuickBooks? Great. But you may be asking, “What does he mean, exactly?” Reconciling your bank statements to QuickBooks Online monthly is a crucial part of doing your own bookkeeping. It is a process of ensuring that the amounts you have entered in your QuickBooks file match those entered in your credit card and bank statements. The process to reconcile your bank statements and credit cards in QuickBooks can be performed quickly and quite easily.
Why is reconciliation important? When you enter and compare data in your QuickBooks and it matches, it proves that the data is accurate and balanced. You ensure that no transaction is missing. This is also important when it is time to file your taxes. By maintaining and keeping a check of your data throughout the year, you will be way ahead before your next tax filing. It is also critical for record keeping purpose.
Here’s a step-by-step guide on how to reconcile in QuickBooks Online
If you are a newbie, you need to first add your credit card and bank accounts to the banking section in QuickBooks Online by linking your accounts.
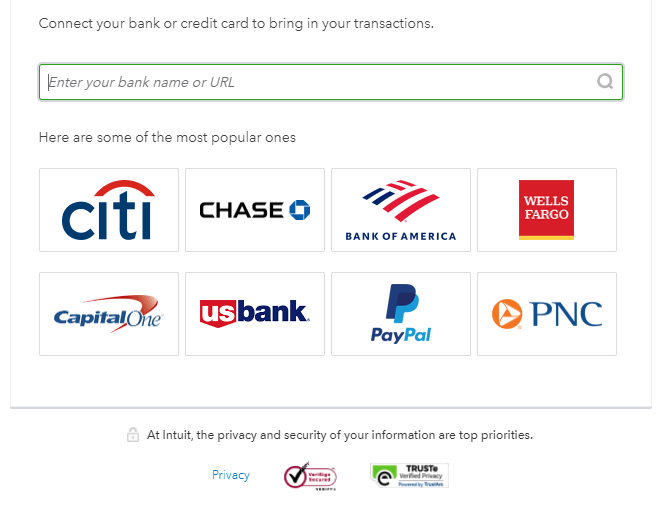
Next, add the name of your financial institution. You will be asked to enter your username and passcode. A window will pop up where you will be asked to connect the bank account to your chart of accounts checking account. Next, you will get a notification that your transactions have been downloaded. After you have categorized each transactions from the bank feeds you are ready to reconcile.
Step 1:
You should have your bank statement ready. Log in to your QuickBooks account.
Step 2:
On the top right corner go to the gear icon, you need to select the ‘Reconcile’ tab under tools, and then you will have the option to select which account you want to reconcile first.

You can start off with your checking account, or savings, or a credit card account, whichever you want to reconcile.
Step 3:
Enter the end date from the bank statement and the ending balance. You need to ensure that the beginning balance in your QuickBooks is the same as that shown in your bank statement.
If you are a newbie and you can’t get your beginning balance, schedule a 1-on-1 session with me and we can figure it out together.
Step 4:
This step is the most time-consuming, yet the most important one. Have your bank statement open in front of you and your Reconciliation tab open. You need to match the transactions in the bank statement with that mentioned on the Checks and Payments category in the QuickBooks.
Check the first transaction in the account statement, find it and match it with that on QuickBooks online. If they match, check the box next to amount in the QuickBooks Reconciliation window.
Complete this step for every transaction. Every tick would indicate that the particular transaction is reconciled.
Step 5
Once you are done with checking all the transactions, you need to make sure that the amount or the ‘Difference’ that is at the top of the page is $0.00.
If the amount appears to be $0.00, you need click on ‘Finish’ to download your reconciliation report.
Now, what if the different does not appear to be $0.00? This indicates that an error has been made and you will have to review all the transactions.
Some steps you can take to resolve this issue include:
- Reviewing your beginning and opening balance again for accuracy.
- Match the end date and ending balance with that on the statement.
- Double check the transactions and make sure that there are no duplicates or missing transactions.
Reconciliation is a process that is strongly recommended to be performed at least once a month within your bookkeeping routine to ensure the accuracy of your entered data.